Christmas Eve....a day to prepare for Jesus's birthday!
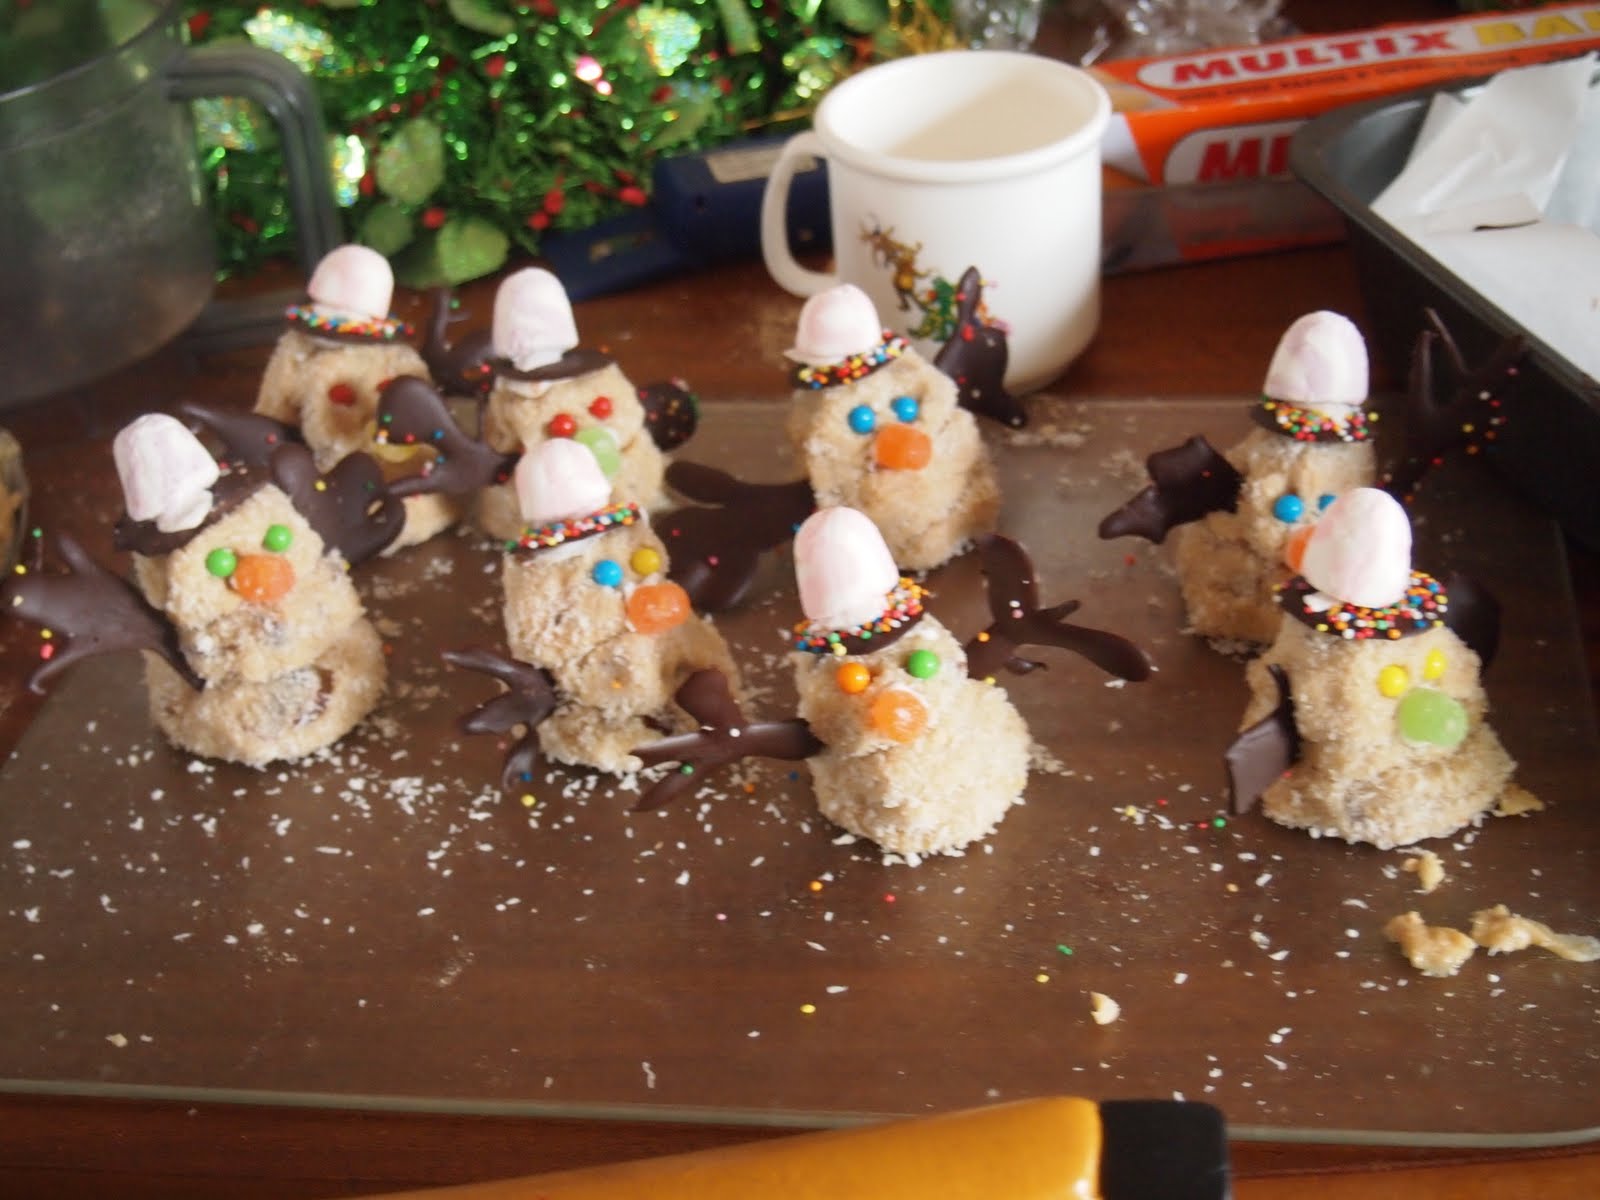
I started off today trying to get the kids to help me reorganise the house. We needed to tidy. And the kids rose to the challenge and we got the house tidy, ready for tomorrow. They were treated to a lovely reward - a candy cane from the Christmas tree.
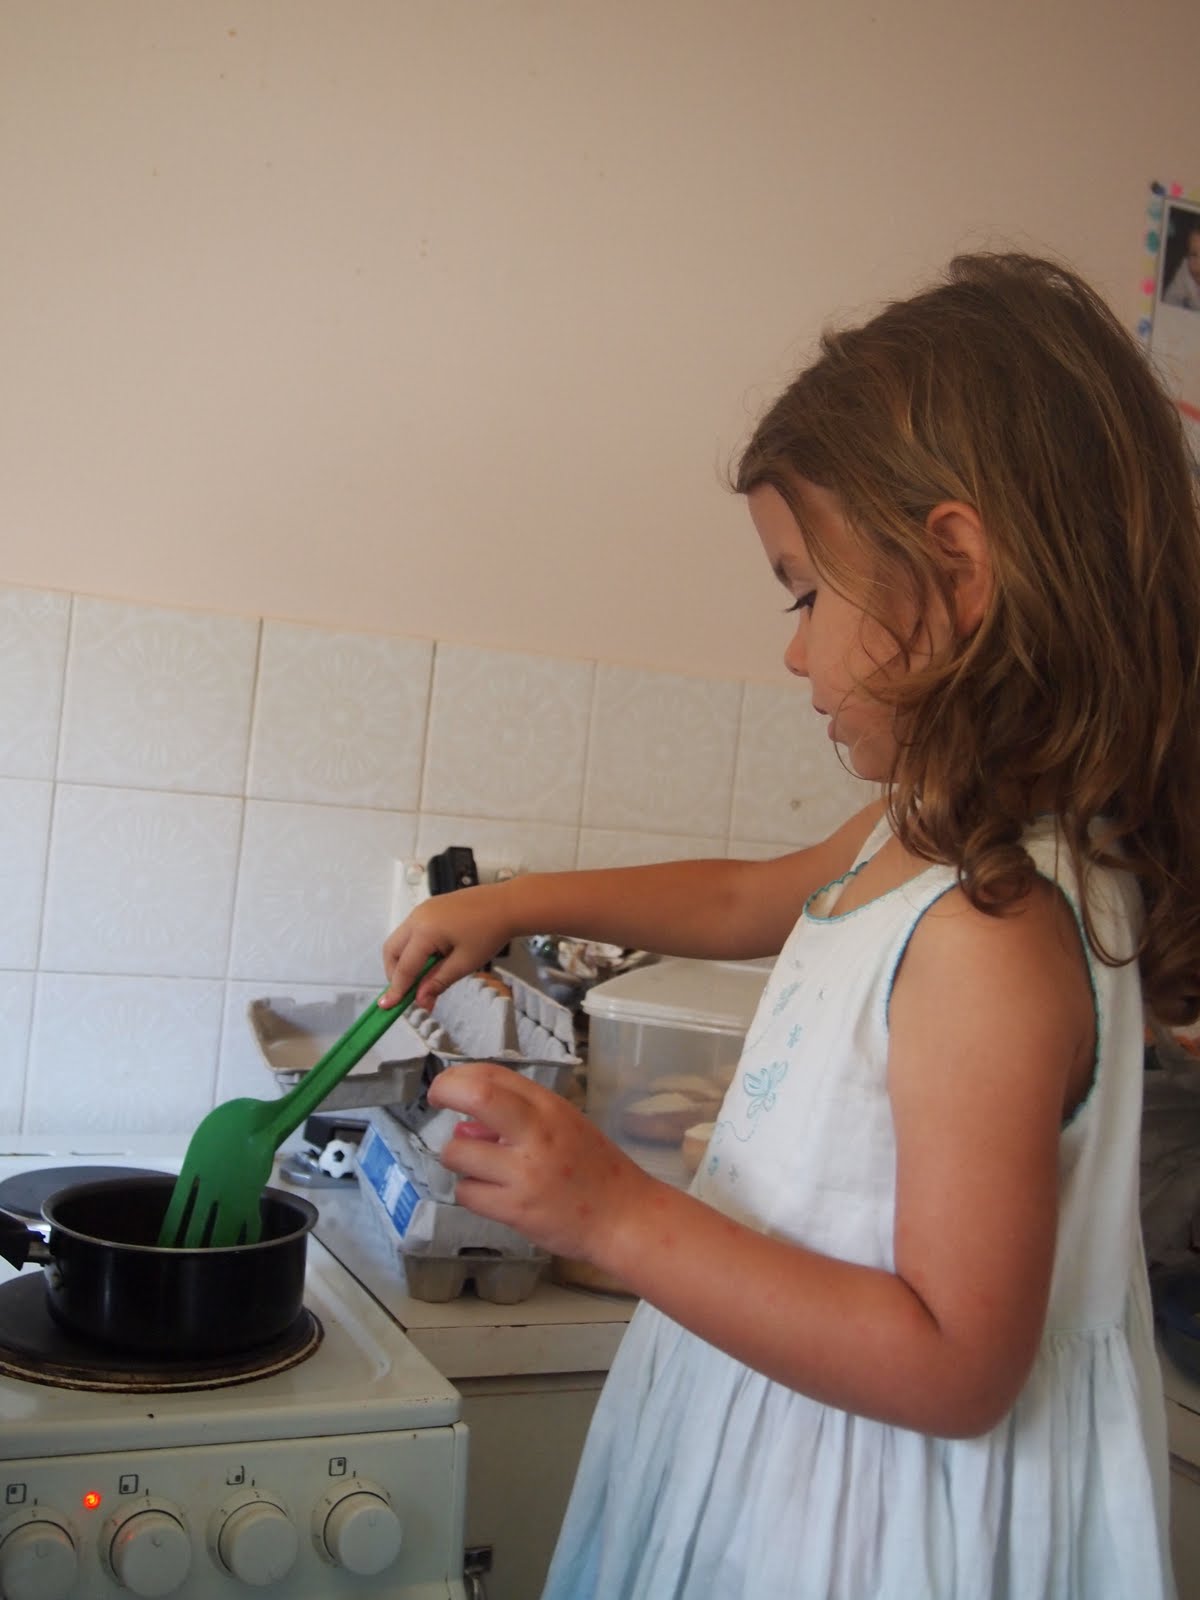
After the necessary chores, came the cooking!!! First on my list for breakfast was Stuffed croissant french toast.....it was yummy! But unfortunately I can't remember where I found it online. But here is the recipe to follow....
1 (8 oz) pkg. cream cheese, softened
¼ C. maple syrup
1 Tbsp. Granulated sugar
1 C. chopped, fresh strawberries
8 large or 16 mini croissants
3 eggs
1 C. half & half or light cream
1 Tbsp. Packed brown sugar
½ tsp. cinnamon
¼ tsp. nutmeg
In a medium bowl, beat cream cheese, syrup, and sugar on medium speed until well combined.
Stir in chopped strawberries.
With a serrated knife, cut croissants in half horizontally, cutting to, but not through, other side.
Spoon cream cheese filling into each croissant.
In medium bowl, whisk together eggs, half & half, brown sugar, cinnamon, and nutmeg.
Using your hands, dip each side of filled croissant in egg mixture, being careful not to squeeze out filling. Cook filled croissants on a lightly greased griddle over medium heat about 1-2 mins. on each side. Some filling may leak out; be sure to wipe off griddle and grease again. Serve warm sprinkled with fresh strawberries, and drizzled with maple syrup. Serves 8.
Our next recipe comes from America - Egg Nog! I had never tried this drink but had heard about it a lot, so I decided that this year was the year to try it. I wasn't sure if it would be something we would like or hate. And to my surprise everyone liked it. I poured it into our Christmas cups, dressed with a strawberry and straw. The kids thought this was very special!
Ingredients:
9 large eggs
1 cup real maple syrup
1/4 teaspoon salt
6 cups milk, divided
2 tablespoons vanilla extract
3/4 teaspoon freshly grated nutmeg
1/8 teaspoon ground cinnamon
1 cup heavy cream
For serving:
3/4 cup whipped cream
Freshly grated nutmeg
Instructions:
1. In a heavy 4 or 6-quart pan, briskly whisk together the eggs, maple syrup, and salt, until well-mixed. Whisk in 3 cups of the milk.
2. Heat over medium heat, whisking constantly, until mixture reaches 160-165 degrees F (use a candy or meat thermometer to monitor temperature).* It takes me about 10-15 minutes, and I do whisk near-constantly for this step! You will see a little steam rising from the pan, just as the egg nog reaches 160-165 degrees.
3. Remove from heat. Whisk in the vanilla, nutmeg, and cinnamon. Whisk in the remaining 3 cups of milk.
4. Cover pan and chill well (a few hours) before serving. Don't put a hot pan in your refrigerator though! If the weather is cold, I set the covered pan outside to cool, and then refrigerate. Otherwise, let cool to room temperature and refrigerate.
5. Whip the 1 cup of heavy cream until foamy, about half-way to "whipped cream". Stir into the chilled egg nog mixture (it will want to float, so stir as much as needed to mix most of it in).
6. To serve, ladle chilled egg nog into glasses, top with a tablespoon of whipped cream, and sprinkle with freshly-grated nutmeg. Enjoy!
This egg nog can be stored in the refrigerator for up to 3 days.
We next made Chocolate. caramel apples!!! And they were delicious!!! Avril really enjoyed helping me with this one. Especially when opening the caramels was so hard that she had to use her teeth!! And then she just had to eat it! :)
Here's what you'll need:
5 medium apples, washed and completely dry
One bag of caramels or caramel bits
2 T. water
1 C. chocolate chips
1 - 1 1/2 T. shortening
Any candy, chopped (opt.)
When I saw these at the store, I knew I had to try them. I LOVED that I didn't have to unwrap tons of caramels. So easy!!
Place the caramel and water into a medium pan.
Heat on Medium-Low until the caramel is melted and smooth.
You can push sticks into the apples before dipping them, but I didn't have any. So I just made sure the apples I used had stems to hang on to.
Dip the apples into the warm caramel. Set them on a parchment lined tray (you can spray the parchment paper with non-stick spray if desired).
You should have some caramel left over in your pan. Scoop it out and drizzle it over the apples. It may look funny at first, but don't worry. The caramel will slowly ooze down and cover the apple more smoothly after a while.
Place the caramel covered apples into the fridge and refrigerate for 1 hour.
While you're waiting, you can chop whatever candy you would like to cover the apples in. I went with Snickers. I used a whole bag of the fun-sized candy bars. Chop them small. Mine are a little bigger. I'd probably go smaller next time.
After the caramel has set on the apples, you'll notice that there's some at the bottom of each apple. No worries. Just mold the caramel back up onto the apple. Or if you'd rather, you can just cut it off and eat it.
Once you've got the caramel pressed back up, you're ready for dipping. I melted milk chocolate chips with the shortening in the microwave for 30 seconds on High, stirred it well, then microwaved it for another 15 seconds until the chocolate was smooth and the shortening was incorporated.
Holding on to the apples by the stick or the stem, dip the caramel apples into the chocolate, turning to cover it all. Or pour some chocolate over the top and let it run down the apple.
On Christmas Day I plan to make Egg Nog Christmas Tree French Toast. I love with this recipe that you get to have chocolate for breakfast. And with a sausage too!!! We are going to use MMM's as decorations on our snow covered (icing sugar) tree. The sausage is the trunk.
I am going to use the Egg Nog that I have already made, dipping my bread (cut in triangles) into this. I will fry this bread in a pan. When ready will assemble the triangles like a tree. I will let the kids decorate the tree with MMM's. I will cut a stump of sausage for the trunk of the tree. And then we will let it snow!!! with a little icing sugar :)
For lunch I plan on serving Maple Syrup Ham.
A ham glazed with a combination of maple syrup and apple juice, along with a little mustard and brown sugar.
Ingredients:
• 1 fully cooked ham, about 6 to 8 pounds
• 1/2 cup pure maple syrup
• 1/2 cup brown sugar
• 1/2 cup apple juice
• 1 heaping tablespoon brown or Dijon mustard
• dash cinnamon and ginger or allspice, optional
Preparation:
Place ham, fat side up, on rack in a foil-lined roasting pan; score fat and stud with cloves, if desired. Cook at 325° for about 18 minutes per pound, until meat thermometer or instant read thermometer registers 148°. Combine glaze ingredients in saucepan; bring to a boil and boil for about 2 minutes (be careful not to let it boil over). About 20 minutes before the ham is done, spoon about half of the glaze over top of ham, then about 10 minutes before done, spread remaining glaze over ham.
Serves 8 to 10.
Accompanying our ham will be crispy roast potatoes, sausages wrapped in bacon, a selection of vegetables, parsnip, sweet potato and Yorkshire Puddings with gravy.
Yorkshire Puddings:
4oz plain flour
2-3 eggs
1/2 pint milk
Place all in a bowl and electric whisk really well - bubbly!!
Heat oil in an oven dish or muffin trays, in a really hot oven for 10 mins. Spoon batter into hot oil, cook until golden, crispy and risen.
We will follow our main meal with a Rich Christmas Roll and berries.
6 eggs, separated
1 cup caster sugar
200g dark or milk chocolate
1 tbsp caster sugar, extra
300ml thickened cream
2 tbsp Bailey's Irish Cream Liqueur
Cocoa powder for dusting, sifted
400g mixed berries to serve
Preheat oven to 160C. Grease a 25cm X 30cm swiss roll pan; line with baking paper.
Beat egg yolks and sugar in a small bowl with an electric mixer about 8 minutes or until thick and creamy. Transfer to a large bowl and fold in chocolate.
In another bowl, beat egg whites with electric mixer until soft peaks form. Gently fold this into the chocolate mixture. Spread this mixture into prepared pan. Bake for 20 mins or until firm.
Meanwhile, spread a sheet of baking paper with sugar. turn the cake onto this sugar. Carefully remove lining paper. Cover cake loosely with a tea towel. Cool to room temperature.
Beat cream and liqueur in small bowl with electric whisk until firm peaks form. Spread cake evenly with cream; roll up firmly from short side; using paper to lift and guide. Wrap in plastic wrap and refrigerate several hours or overnight.
Dust with cocoa and serve with berries.
Please have a safe and wonderful time celebrating the birth of our Saviour. MERRY CHRISTMAS from our Family to yours.... May God Bless You :)
Proverbs 22:6 Train up a child in the way he should go: and when he is old, he will not depart from it. Hi! I am Anne and I am a new homeschool mum. I have 4 spritely young children and a very hard working husband. Our aim is to live every day for God (or at least learning how to do this), spending many quality hours together loving and laughing together. I hope you enjoy following our journey and equally I hope I can share in yours.
Saturday, 24 December 2011
Thursday, 22 December 2011
White Chocolate Truffle Snowmen
I wanted to share this fun and delicious recipe with you and your family.
Makes 6
360g white eating chocolate, broken into pieces, plus 80g extra, melted
1/2 cup cream
1/4 cup dries cranberries, finely chopped
1/3 cup unsalted pistachio kernels, roasted and finely chopped (I used hazelnut kernels)
80g dark chocolate
100's and 1000's
1/4 cup dessicated coconut
Coloured jelly beans
6 white marshmallows
1) Melt 360g white chocolate and cream. Stir until smooth. Remove from heat and add cranberries and nuts. Cover with plastic wrap; chill, stir occasionally, for 1 hour or until firm.
2) Meanwhile, line 2 baking trays with baking paper. Melt dark chocolate. Cool slightly. Place in small piping bag (can use a freezer bag with corner snipped). Pipe 12x 2cm lengths on trays (arms) and 6 x 5cm circles for hats.Sprinkle the circles with 100's and 1000's. Set in fridge.
3) Roll white chocolate into 6 x 1 1/2 tbsp balls, 6 x 1 tbsp balls and 6 x 1 1/2 tsp balls. Roll balls in coconut. Place truffles on remaining tray. Chill 5 minutes to set.
4) For each snowman, dot a little white chocolate on large truffle. Top with medium truffle. Dot with more white chocolate, then top with a small truffle. Set. Using a little melted chocolate, secure arms. Cut jelly beans in half for noses and in slices for eyes. Secure in place. Attach a marshmallow to each circle; secure to top of each snowman as a hat.
Now note to self: If you follow instructions thoroughly then the snowmen would have sat up perfectly!! lol I was rushing and I didn't follow the instructions properly, so my snowmen looked like 'real' snowmen!! A little slumped over and nobbly!! lol I realised my mistakes as typing the recipe up :) I will definitely be making these again. If made properly, they make a really cute gift.
Other fun Christmas stuff:
We don't get snow here in Australia for Christmas :(. When living in the UK I never saw a white Christmas but was very thankful for the snow days that I did experience, even if it wasn't at Christmas. So the highlight for my children each year is a trip to a local light display at a residential address. They have a 'snow machine' !!! This snow machine is very effective, it look like snow, it makes them very wet and cold, but it is only bubbly froth :) But the kids love it!
We had a lovely day yesterday decorating a pre bought gingerbread house kit with some friends. It was much easier than making my own as it came with a tray that had slots for the gingerbread to sit in. It had pre-made icing, except that there wasn't enough! :) It had gingerbread trees and people. It was good fun. I did enjoy making my own though, as the challenge was there. But this was great too, and the kids had a ball decorating and eating it!
Happy Birthday Jesus Party
A friend and I organised a Happy Birthday Jesus Party this week. I like to try to keep our focus on Christ instead of on us and stuff in this season. So a Happy Birthday Jesus Party seemed a great way to do this. It is so easy in this season to be distracted by parties, presents, shopping and cooking. All of these things are a part of celebrating Christmas and are a lot of fun, but they can easily steal our eyes, hearts and minds from the true meaning of Christmas which is JESUS.
So my friend and I organised this party to honour Jesus. We sent out invitations, we decided how we would honour Jesus with this party...and this is what we did.
I had collected Christmas recipes in a little exercise book and was delighted to stumble across a recipe that I had collected years before. And I decided that this recipe would be the perfect cake to honour Christ and remind us all about the message of the Gospel.
This cake was round because Jesus was born into a world that was round.
This cake's first layer was brown for our sins.
This cakes second layer was red for Jesus's blood shed for our sins.
This cake's third layer was green for life, which is ours in our new heart.
The icing was white which stood for Jesus's purity and righteousness.
This cake had a border of candy hearts which represented each one of us standing a s witnesses for Jesus around the world.
This cake had a gold star in the middle which was the star of Bethlehem, that led the wise men to Jesus. The star had six points which represented the star of David, which represented the Jewish nation in which Jesus was born.
The star had a yellow border which represented the grace of God encircling us.
The cake had a red candle placed in the centre of the star which represented Jesus.
We lit this candle and we read the Christmas story from a kids book called 'Christmas with Night-Light' by Susan Lingo. I chose a kids book because we had a large group of kids attending.
As we read the story, the kids used a knitted nativity and a cardboard stable set to re-enact the story of Christmas.
This book is set up so that after every couple of pages there are two Christmas carols. My friend played the piano and so during the story of Christmas we would break to sing a verse of each carol. The carols continued the theme of the part of the Christmas story we were up to.
When we had finished reading the Christmas story we all lit our candles out of Jesus's candle. We all then sang Happy Birthday to Jesus, blew out our candles, and pulled party poppers.
We then shared in Jesus's birthday cake. I love that we were able to draw our families eyes back to Jesus in this season.
We finished off Jesus's party with a shared meal of sausages and salad. It was wonderful fellow shipping with each other in this wonderful season and bringing Jesus back to the centre of Christmas.
Subscribe to:
Posts (Atom)